"You get that helmet here?"
"Hm? No, I've had it a while."
"I'm an orange guy, too."
Riding a motorcycle brings with it a paradox--riders love to get out on the road, to be free, to be individuals. But they are always looking for ways to connect with other bikers. That's why we're always waving at each other.
Today's connection happened at the Seattle Motorcycle Show. I had my fill of walking the booths and was reviewing my loot. The parallel of a kid coming home from trick-or-treating was not lost on me--not when they supply me with a goody bag on the way in.
 |
| "Pretty slim pickings for a trade show (helmet not included)." |
The helmet was set on a ledge along with my takeaways right in the main hallway. I didn't notice the guy at first, but he was really happy to find somebody else who believed in the Power of Orange. We weren't alone though, minutes after he stopped to talk, another person noticed the helmet and struck up a conversation with me.
"Did I like the orange helmet?"
"Does it reflect at night?"
She doesn't like riding at night because it's more difficult to be seen. But the orange got her thinking that the basic black trap many riders fall into may not be the best idea when it comes to getting the attention of car drivers. It's tough enough when drivers fail to notice the presence of a bike on road--roar of the engine and all. Maybe blending in with the background and the night leaves something to be desired for long-term viability.
So about the show. It wasn't the worst show I've been to ("He-llooo San Antonio Motorcycle Show"), but it was far from the best. Of course, my jaded outlook may also be due to the fact that I've gone to so many of these--first in DC, then SA, and now Seattle. What made the SA show the bottom of the barrel? Because it had more tattoo artists than cycle product vendors. Those tattoos seemed to have just as much bacteria as ink. But I'm off-topic again...
What follows is a recap from what I took from the show. A lot of stuff was left in the booths because they didn't seem to contribute to the needs of the Ride. And I didn't bother to hop on any of the bikes there because I don't have plans to buy a new bike anytime soon. But here's hoping that a few of these wind up under the Christmas tree.
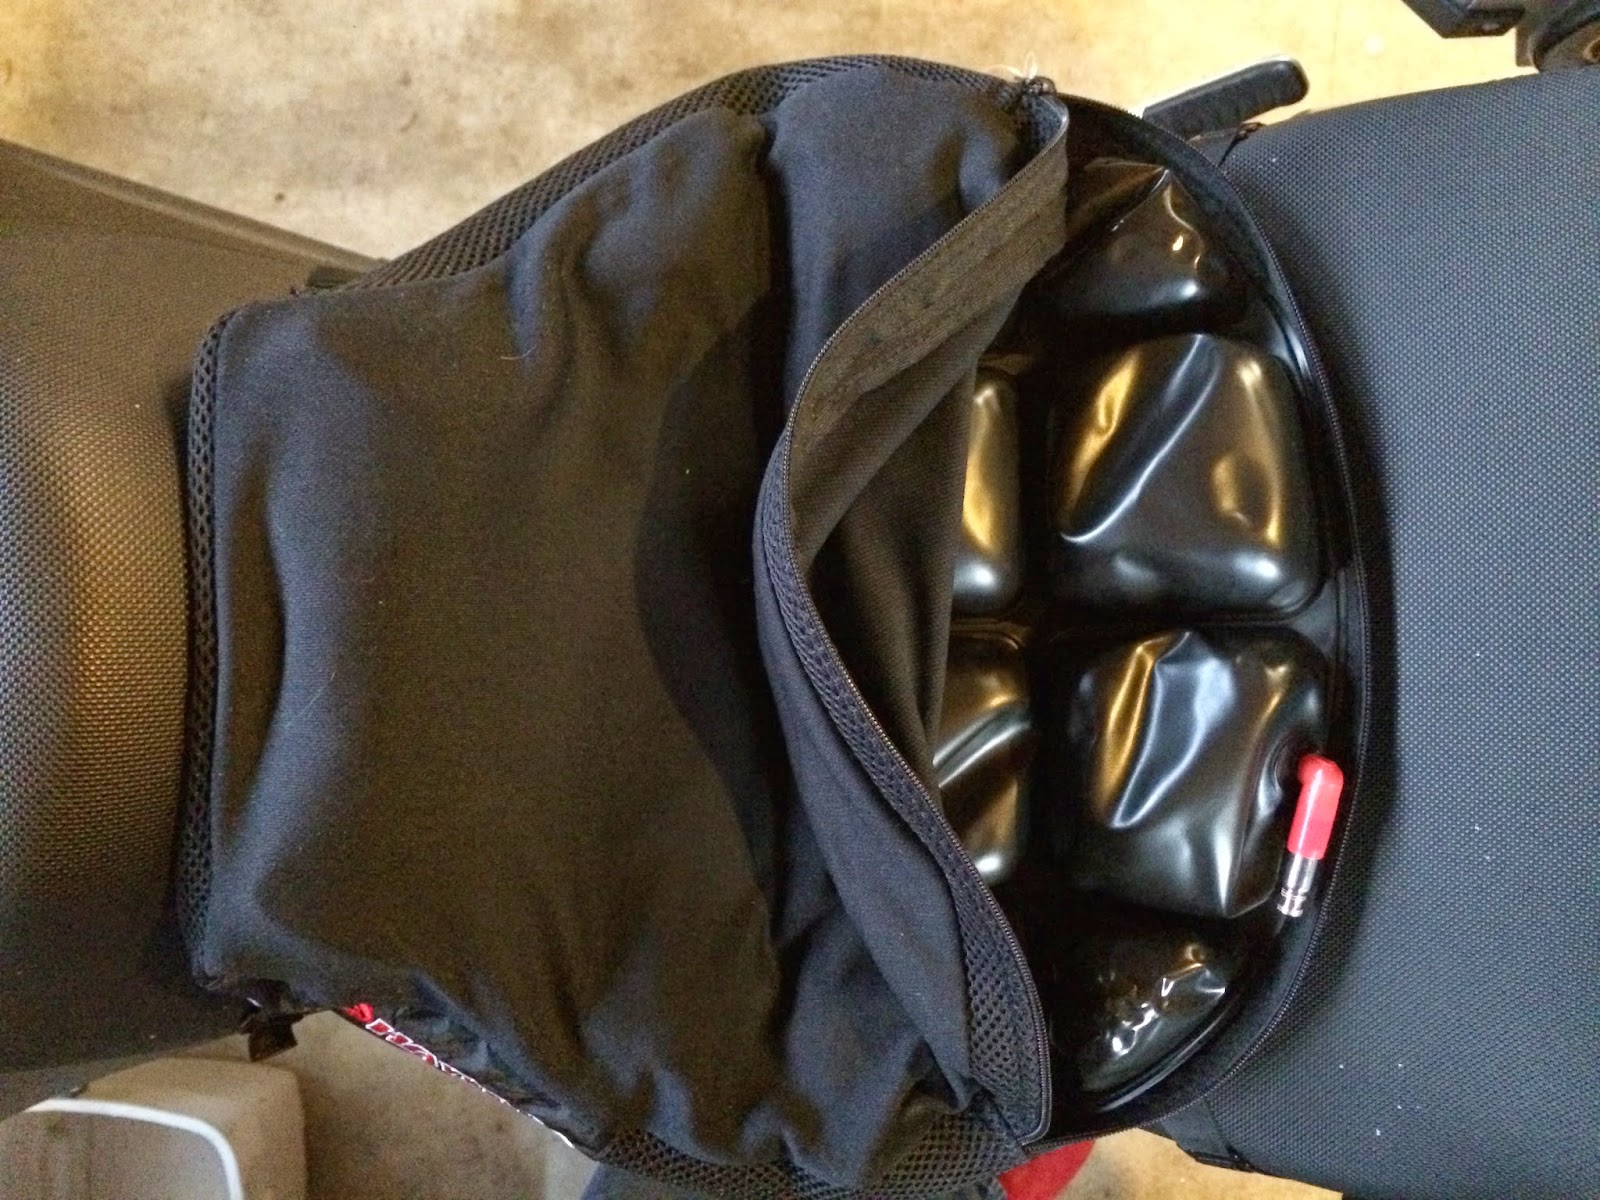
Australian Leather Seal
"C'mon then and puht your buht up hee-ah," was what the freckled redhead instructed me when she caught me watching the demo. How could I argue with that accent? It sounded legit enough, and if she was a local actress then she carried it off pretty well.
The Sheila spun her yarn ("Yahrn") with all the fluidness of somebody who's said it one-hundred times already that day; explaining the value of the natural ingredients, how it creates a waterproof coating on leather ("Leh-thehr"), vinyl, or timber ("Teehm-behr"). After a few minutes of application and buffer, she sprayed water on my old leather boots, which beaded right off.
I don't know that it was really needed in my gearbox, but her sale was so strong that I picked up a $20 can. In a future posting I'll show how it went on the leather jacket.
 HealTech Electronics Brake Light Pro
You've read my posts enough to know that as much as I love riding, being in traffic with car drivers makes me nervous. Any gadget that promises to help me be seen will always get my attention. The Brake Light Pro from HealTech is a nifty little device that you splice onto your brake wire. When you apply the brakes, the light flashes a few times before going solid. I grabbed the brochure and placed it strategically in the kitchen hoping Mrs. Claus gets the hint.
 Moto-Skiveez
You know who thinks that padded underwear is funny? Nobody who rides a motorcycle or bike. I ride both, and nothing's worse than getting rubbed the wrong way after a long ride. Yeah, I can hear you snickering.
The CEO of the company and I had a good chat--we both ride Tigers--and he explained in his schpiel the difference between cycling shorts and his product. It all comes down to the padding matching the rider's posture. Though I've got padded cycling shorts that would help for long rides, having a product designed for riding a motorcycle would be a better option.
The brochure and special show code are also sitting on the kitchen counter for Mrs. Claus.
Alaska, Ho!
Alaska has been in my sights for a couple years now as a biking destination. And last spring I started investigating the Alaska Ferry. Since its most southern port is 90 minutes north in Bellingham, it wouldn't take much to hitch a ride. But my planning always fell short in choosing spots to visit. Thankfully, the woman at the booth had just enough information to help me lock on potential routes.
The info in the photo at the right is also on their website, but not organized as well. This trip is my late summer back-up plan if Puget2Potomac falls through.
 Twisted Throttle Catalog
I've been shopping with these guys for a couple years now, either direct or through the dealership. Their products are solid and well-priced. There's another after-market juggernaut out there that specializes in adventure riding, but their prices are always sky-high.
Like the Alaska Ferry literature, sometimes it's just better to have a glossy catalog for window-shopping instead of a website. This one always gets preferential treatment for my gear.
So that's what I walked away with for $12 and a couple hours on a Saturday afternoon. Below are some of the bikes that were on-display. Enjoy!